Managing the Search Suggestions list
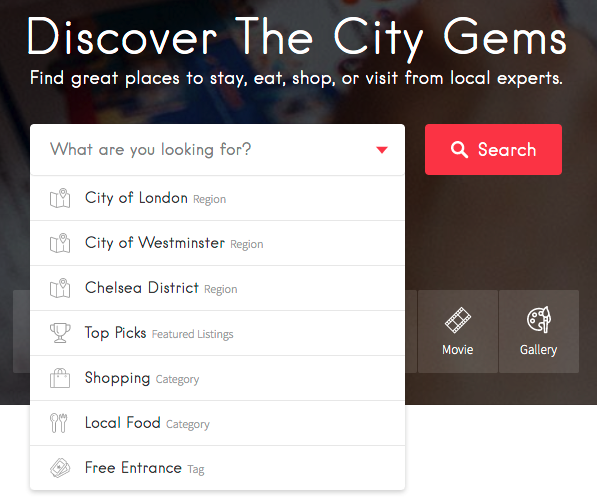
When you click the main Search field in our demo you will be presented with a drop-down menu that gives you some suggestions about the things that are promoted on the website — this is a great way for you to encourage visitors to explore the site – it will appear both on the Front Page hero and in the Header of the rest of the site.

To add those links, we’ve envisioned a simple yet powerful and flexible system. We will use the standard WordPress Menus — let’s get started:
Step 1 — Add the Keywords field to the front-page
The search menu is added to the Keywords field from the front-page. You just have to edit the front-page and make sure that the Keywords box is checked (see screenshot).
Step 2 — Create the Search Menu
The very first move is to go to Appearance → Customize → Menus and click on Add Menu button to create a new menu, then give it a name like Search Menu, for instance.
Step 3 — Assign the Search Menu
At this point, you have to go to Appearance → Customize → Menus → Managed Locations section and select the Search Menu that you just created in the Search Menu field.
Step 4 — Add Items to the Menu
You have to go back to Edit Menus area. From the left section, you can add links to the desired sections: listings categories, tags, regions or even regular pages.
If the items that you want to add to your menu are not visible, click the Screen Options button in the top right corner of your screen and make sure that you checked all the needed elements (see screenshot).
Step 5 — Add Description
In the same Screen Options section, there is a Description option that you should check if you want to have small explanatory notes for each menu item.
Step 6 — Add Icon
For icons, you need to install the free Menu Icons plugin. After activation, a new block will appear on the left side from where you can select the icon sources. After that, each menu items has a new icon field that you can use.
Additional Readings: