Managing the Secondary Menu
The secondary menu is placed below the header bar and can be used on specific pages where you need another organization level for your content.
Here’s how it looks in Listable, our listing directory WordPress theme, for organizing the User Account area:
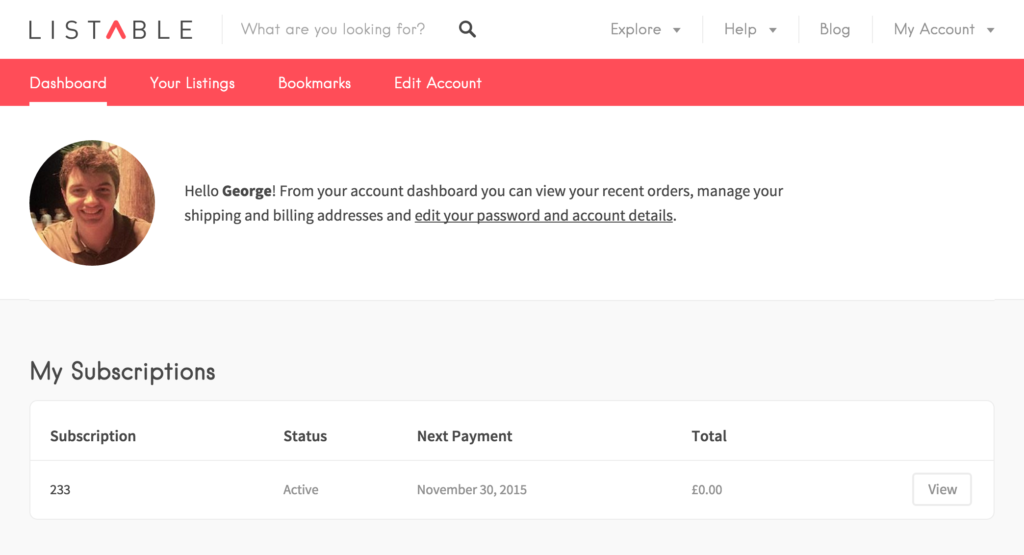
Note: not all WordPress themes have two or more display locations in the navigation menu. Some might have just one, others might offer up to five or six places to display your menu (e.g., in the Footer, in the sidebar, etc.), but the steps for creating and managing a secondary menu are the same.
Step 1 — Create the Secondary Menu
First, you need to create a new menu. Go to Appearance → Customize → Menus → and click on Create a new menu. Enter the menu name, let’s call it Secondary Menu.
You can assign this menu to the Secondary Menu display location.
Step 2 — Add Items to the Menu
You can add links to the desired pages (My Account, Listings Dashboard, Add Listing, Bookmarks, or any other ones) by clicking the Add items button. The available display locations depend on the WordPress theme you are using. Below is a video guide with all these steps:
Additional Readings:
- Creating the website navigation menu
- Having different menus on different pages
- Show menu items only to logged in users
- Managing the Search Suggestions Menu
- How to add the Current Username to the Navigation Menu?
- How to Create a Log Out Link in Your Menu

Looking for a WordPress theme?
Search no more. Take a look at our products and choose what works best 👇