We want to help you start with the right foot in order to fully enjoy our WordPress theme. This is why you need to make sure you have a solid foundation for what’s next by installing the theme. We covered the basics to help you get ready and make the most out of this WordPress gem. The order of the following section is important, so please refer to it accordingly.
Install and Activate the Theme
One of the perks of WordPress in general and Vasco in particular is that you can start playing around with it in no time.
- Log into you WordPress Dashboard and navigate to Appearance → Themes.
- Click Add New button at the top of the page.
- Search for “Vasco” from the top right search field.
- Find the theme and click Install Now.
- Once the theme has been installed, click the Activate link.
Install and Connect Jetpack
Jetpack is a famous plugin developed by Automattic, the company behind WordPress.com. A huge numbers of hosting providers and WordPress authors recommend installing it from day one.
Here’s how you can do that on Vasco:
- Log into your WordPress Dashboard
- Go to Appearance → About Vasco → click on the Recommended Actions tab then click on Install and Activate
- In order to use its features, you just need to click the “Connect to WordPress.com” button, login with your WordPress.com account (or create one) and click “Authorize Jetpack”.
Using the Front Page template
With Vasco, we provide a layout that will help you organize your content in such way that they fit your needs and audience. To do so, you can use the Front Page template.
How templates work
Setting up the Front Page template
Step 1 — Create the page
From your site WordPress Dashboard, click on Add a new page and name it “Home” or alike in order to easily remember it.
Step 2 — Set the “Front Page” template
Set the Front Page template by reaching the Page Attributes section (screenshot).
Step 3 — Set a Static Front Page
To finish this up, let’s put the above-created page on front page. By default, WordPress displays the latest posts there — to change that and show your new “Home” page, follow the standard method:
- Launch the site Customizer and click on the Static Front Page tab on the left.
- Select the Static Page option, then choose your new page from the Front Page drop-down.
- Click on the Save & Publish button to save your static page settings.
Step 4 — Add the widgets
- While viewing the page that you set as having a Front Page template, click on Customize in the upper left menu bar.
- In the menu that appeared on the left, go to the Widgets section.
- Choose any area you would like to add widgets to.
- While editing an area, click on the Add a Widget button. From the menu that will appear on the right, select any widget that you would like to add.
Displaying Featured Posts
Highlighting some stories of your website is always a good idea: you keep the momentum and continue to grab attention for the long game. We came up with a set of widgets that will help you customise your online stories.
In this article, we walk you through how to create a unique layout for your front page by using the available custom widgets from Vasco, such as:
- Pixelgrade: Grid Posts
- Pixelgrade: Profile
- Pixelgrade: Location
Other custom widgets such as Feature Card, Callout Box, Categories, Promo Box and Stamp are available in Vasco PRO.
Make use of the Grid Posts
- Title: choose a title for the section of posts that describes them best. Leaving this field blank will not display any title.
- Posts Source: there is one source from which you can select your posts to be displayed from Recent Posts — The widget selects from your most recent posts on your blog.
- Since you’re using the free version of Vasco, this is the only option available. Upgrading to PRO unlocks filtering by Category, Tags & Post ID.
- Number of posts to show: choose how many posts you want to be displayed in your widget.
- Number of columns. With the new option you can set how many columns your posts should be displayed. There are three options from which you can choose:
- 1 Column
- 2 Columns
- 3 Columns
- 4 Columns
- Image Ratio: you can change how your post’s Featured Image should be displayed. There are three options from which you can choose:
- Portrait — 3:4
- Square — 1:1
- Landscape — 4:3
- Primary Meta / Secondary Meta: you can set which information you want to display alongside your post. There are two areas above the title where the info can be displayed. You can choose from the following:
- None
- Category
- Comments + Category
- Date (other options are available in Vasco PRO such as Tags, Author, and Comments).
Make use of the Profile Widget
Showcasing a summary of what’s your blog about is almost mandatory. The main purpose is to help your visitors quickly understand what are they going to read about, no matter if it’s about you — the author, a book, or a specific product.
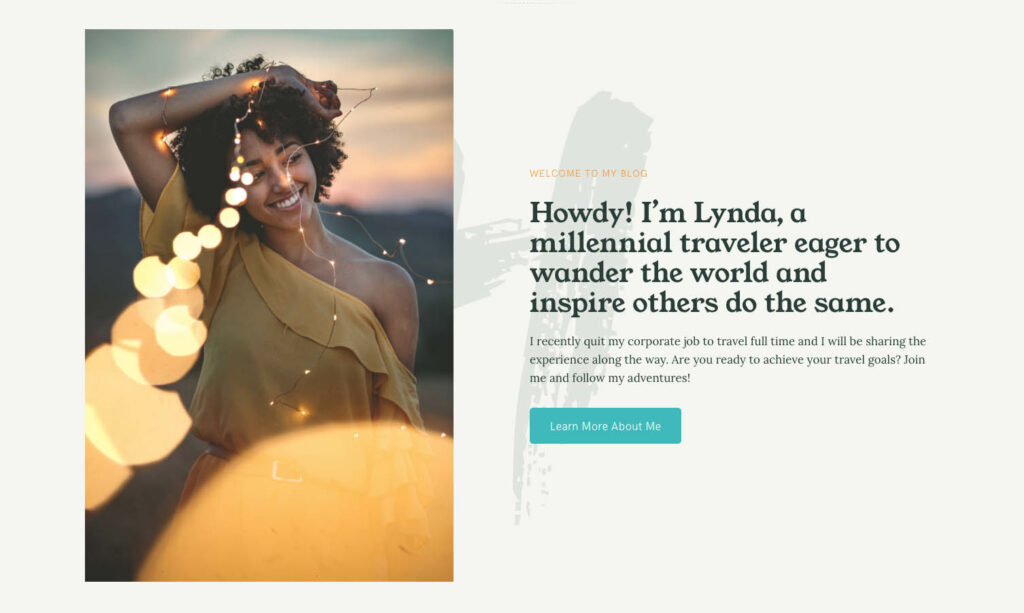
The Pixelgrade: Profile Widget is designed to present a short description with the help of some specific fields like Headline and Description, where you can add your content. However, you can also add an extended description somewhere else on your website and use a Button Link to help visitors find it.
Because everything needs to be responsive, we thought of a small yet meaningful detail: you can choose some of the description text to not be displayed on the mobile. How can you do that? Very simple, using an HTML span such as: <span class = “hidden‐mobile”> eager to wander the world and inspire others do the same . Everything inside this code will be displayed on desktop only and will be ignored on mobile.
It has never been easier to introduce your visitors to your blog’s story just by using a simple yet powerful widget on your homepage. Use this area wisely and make a short but catching description which people will remember in the long run.
* In the PRO version of Vasco, you can also display custom Blobs and a Stamp. Here’s an example.
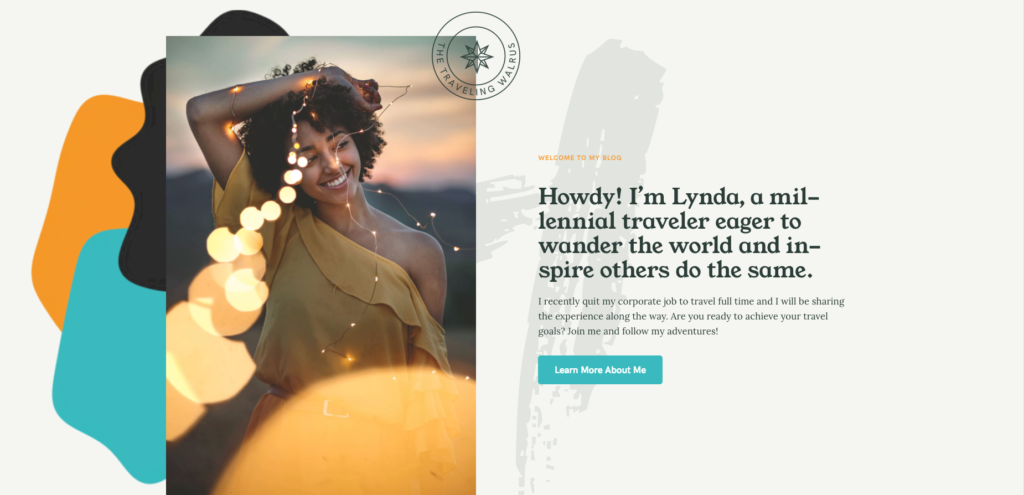
Make use of the Location Widget
The Pixelgrade: Location widget allows you to share your current location with your readers. This way they will know where your traveling adventures are taking you and even connect in person if you are in their neighborhood.
In this area you can add a subtitle, your location name, a custom URL for your location and a background image that represents your whereabouts.
—
Now you are ready to build a stunning blog with Vasco. Make the most out of our WordPress theme, and don’t hesitate to aim for more. There’s always a way to improve everything.
Need More? Upgrade to Vasco PRO
If you are looking for more flexibility and customizations options and to benefit from premium support, check out the comparison table.