Adding an Instagram Feed
In this article, you’ll learn how to showcase your latest Instagram posts on your website.
We’ve tested for you lots of plugins that offer Instagram integration with WordPress websites. We strongly recommend the Smash Balloon Social Photo Feed plugin because it has multiple options for displaying an Instagram feed and is periodically updated to keep up with new changes.
Setup the plugin and link your Instagram account
- Install the plugin on your website by going to Plugins → Add new and search for “Smash Balloon Social Photo Feed.” Once it installs, click on Activate.
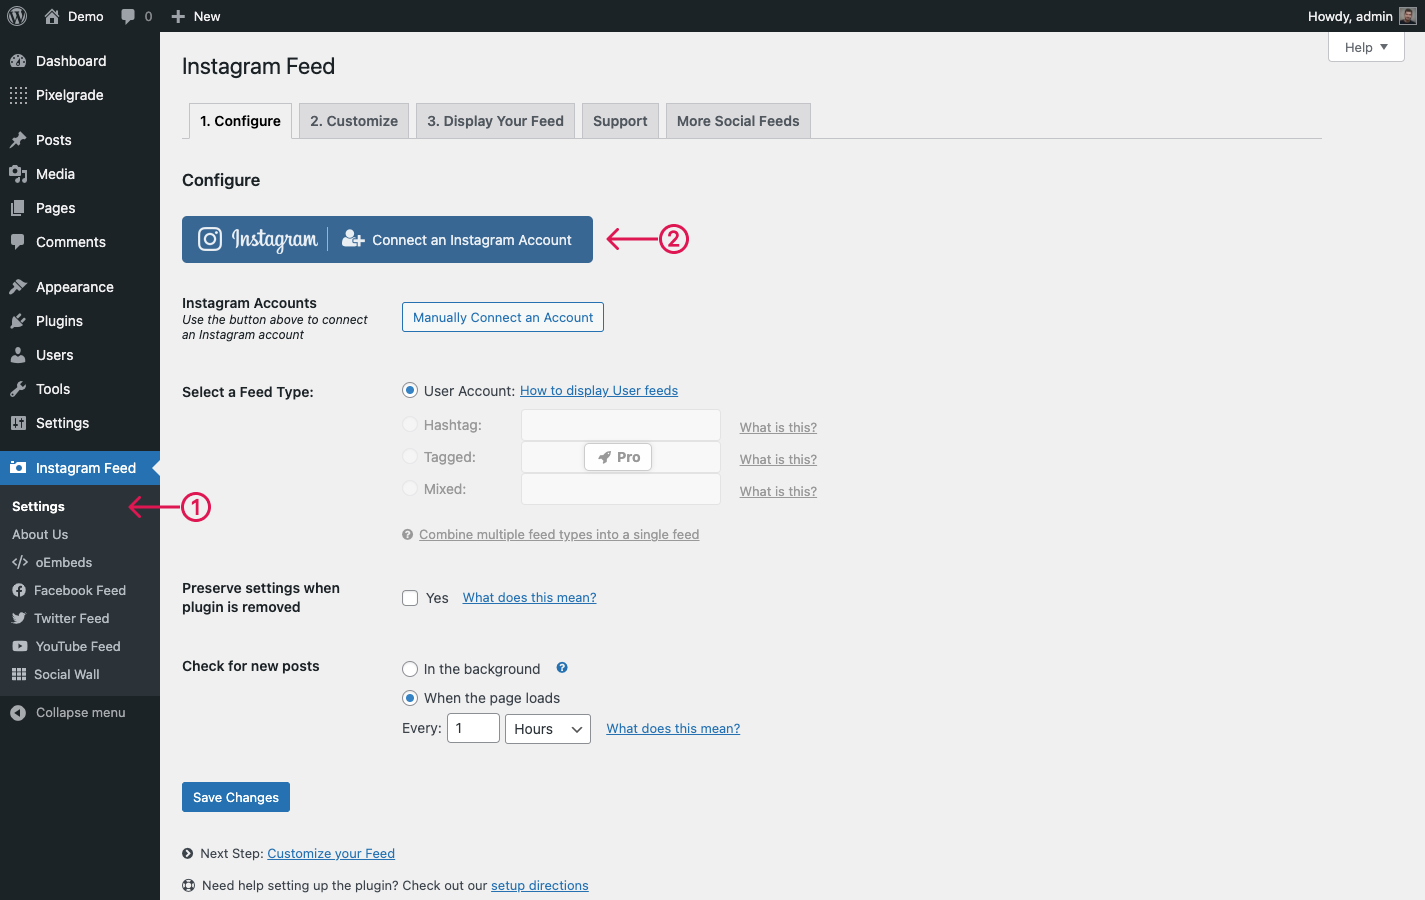
- On your Dashboard, on the left menu, go to Instagram Feed and click on Settings. Under the Configure tab, select the Connect an Instagram Account and follow the instructions. Find more details in this screenshot.
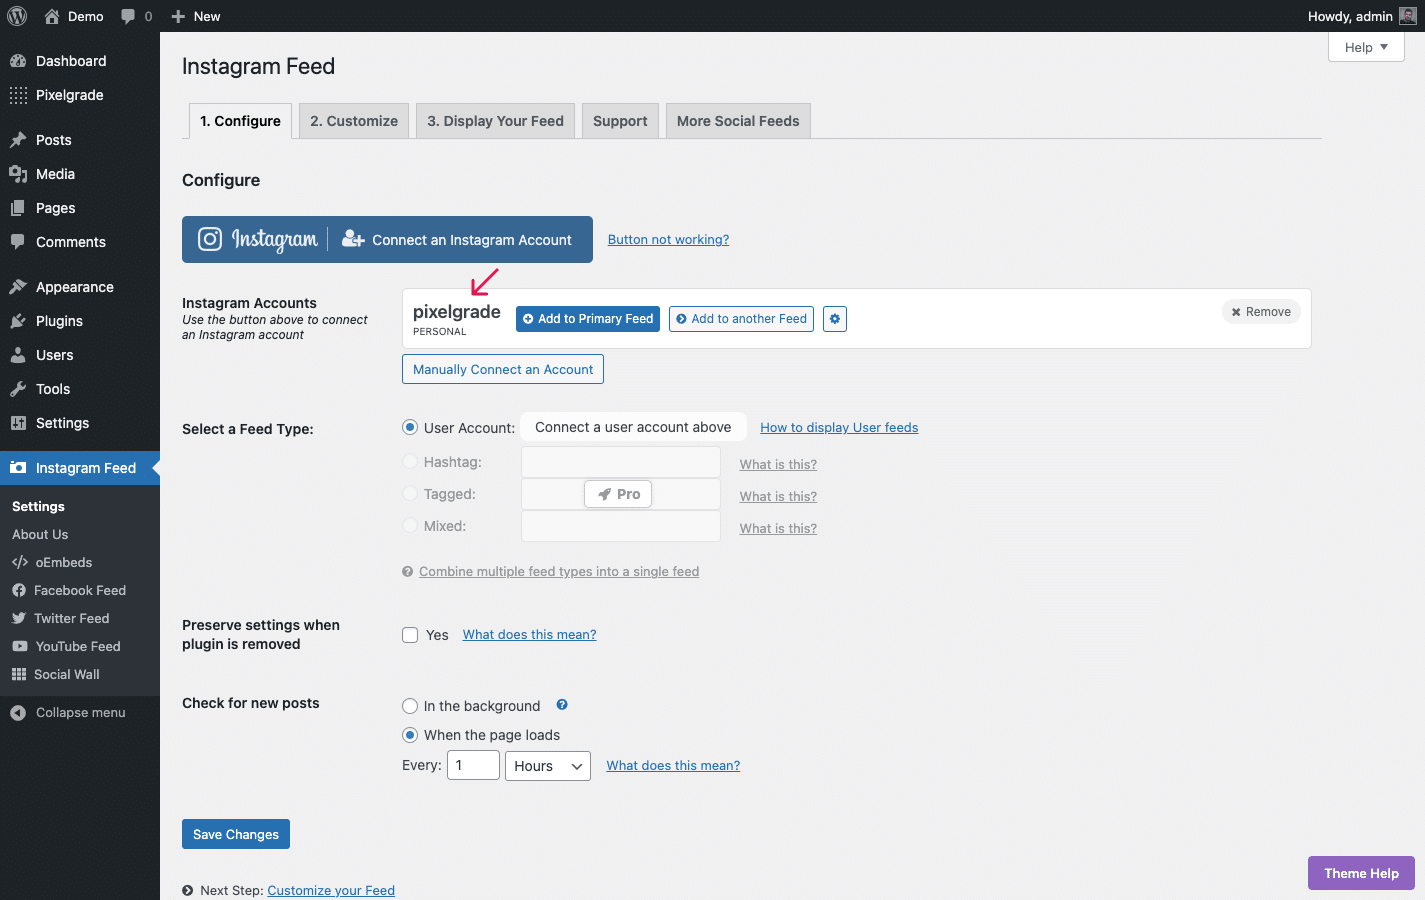
- Once the account connects, you will see it in the Instagram Accounts area.
- Save your settings by clicking the Save Changes button from the bottom of the page.
Add the Instagram feed to your website
If you want to add it to your website’s widget areas, follow the steps below:
- Go to Appearance → Customize → Widgets and select the Widget Area where you’d like to add your feed.
- Click on Add a Widget and search for “Instagram Feed.”
- Wait until the page refreshes, and your Instagram feed should appear in the Preview Mode.
- Click on Publish when you’re done.
You can also add it anywhere on your website’s pages or posts by following these steps:
- Open the page or post where you want to add the Instagram feed;
- Click on the ⊕ sign and search for “Instagram Feed.” Click on the editor block that shows up, and the feed will load.
Customize your Instagram feed
You need to go to Instagram Feed and click on the Customize tab to customize your feed. You can change the number of photos and columns, image resolution, image sorting, button color, and much more.
Plus, you can find additional shortcode settings and examples in the Display your feed tab.
You can also customize the Instagram feed for just one location while keeping the general settings untouched. For example, if you would want to display the last 8 posts on 2 columns, you can use the shortcode like this:
- If you want to customize the Instagram Feed widget, open the widget and replace the shortcode with this one
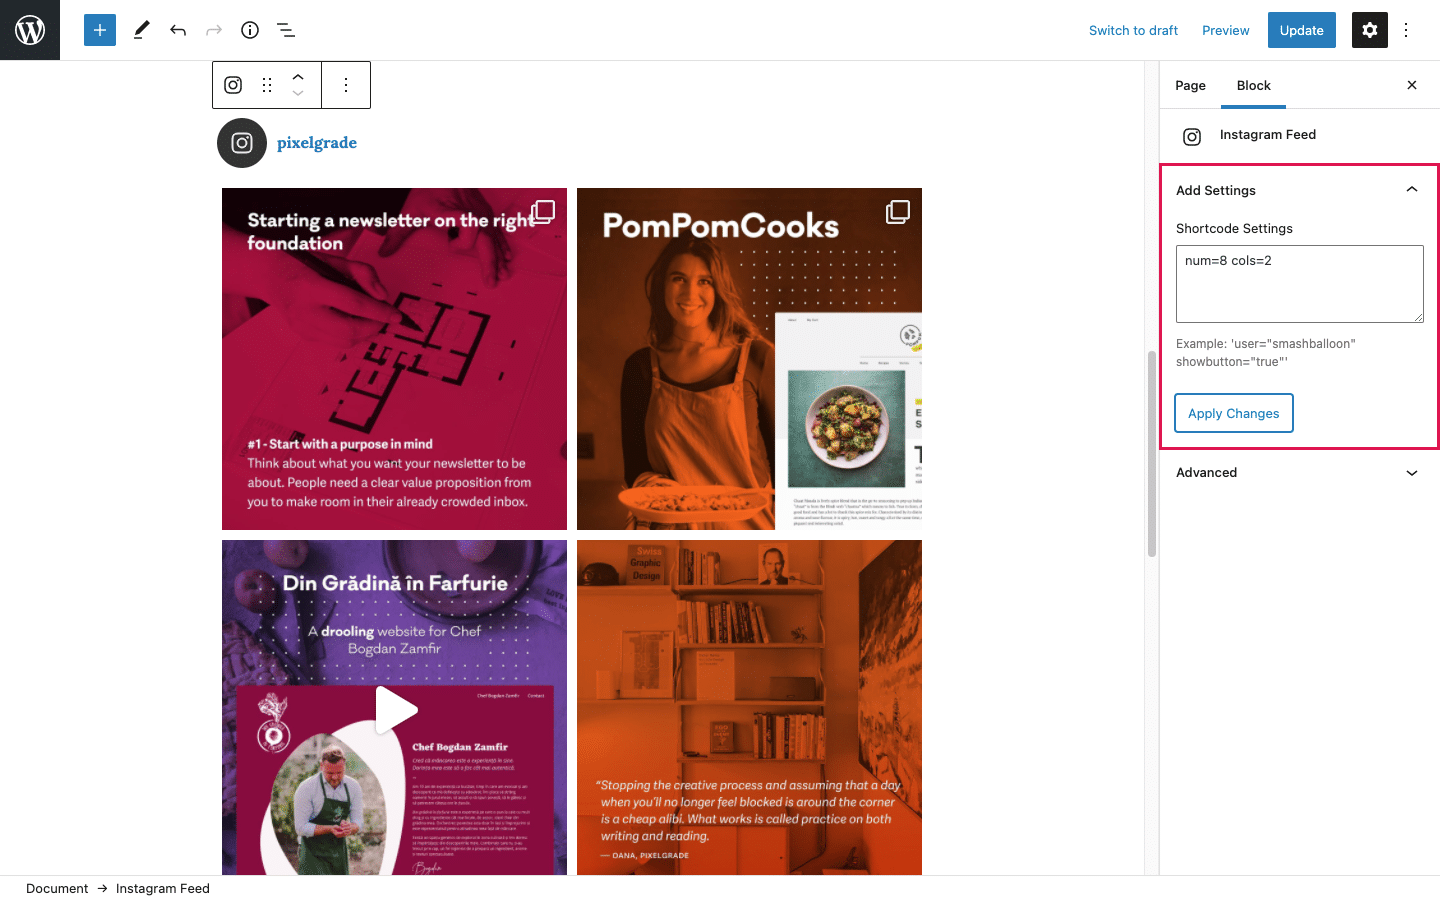
[instagram-feed num=8 cols=2]. Here’s a screenshot for more details. - If you want to customize the Instagram feed added to a page or post, click on the Instagram Feed block, add the following code in the Shortcode Settings area
num=8 cols=2, and click on Apply Changes. Here’s a screenshot for more details.
Another great idea is to display your feed horizontally. To make a single row of posts, ensure that the number of columns equals the number of posts. You can do that in two ways:
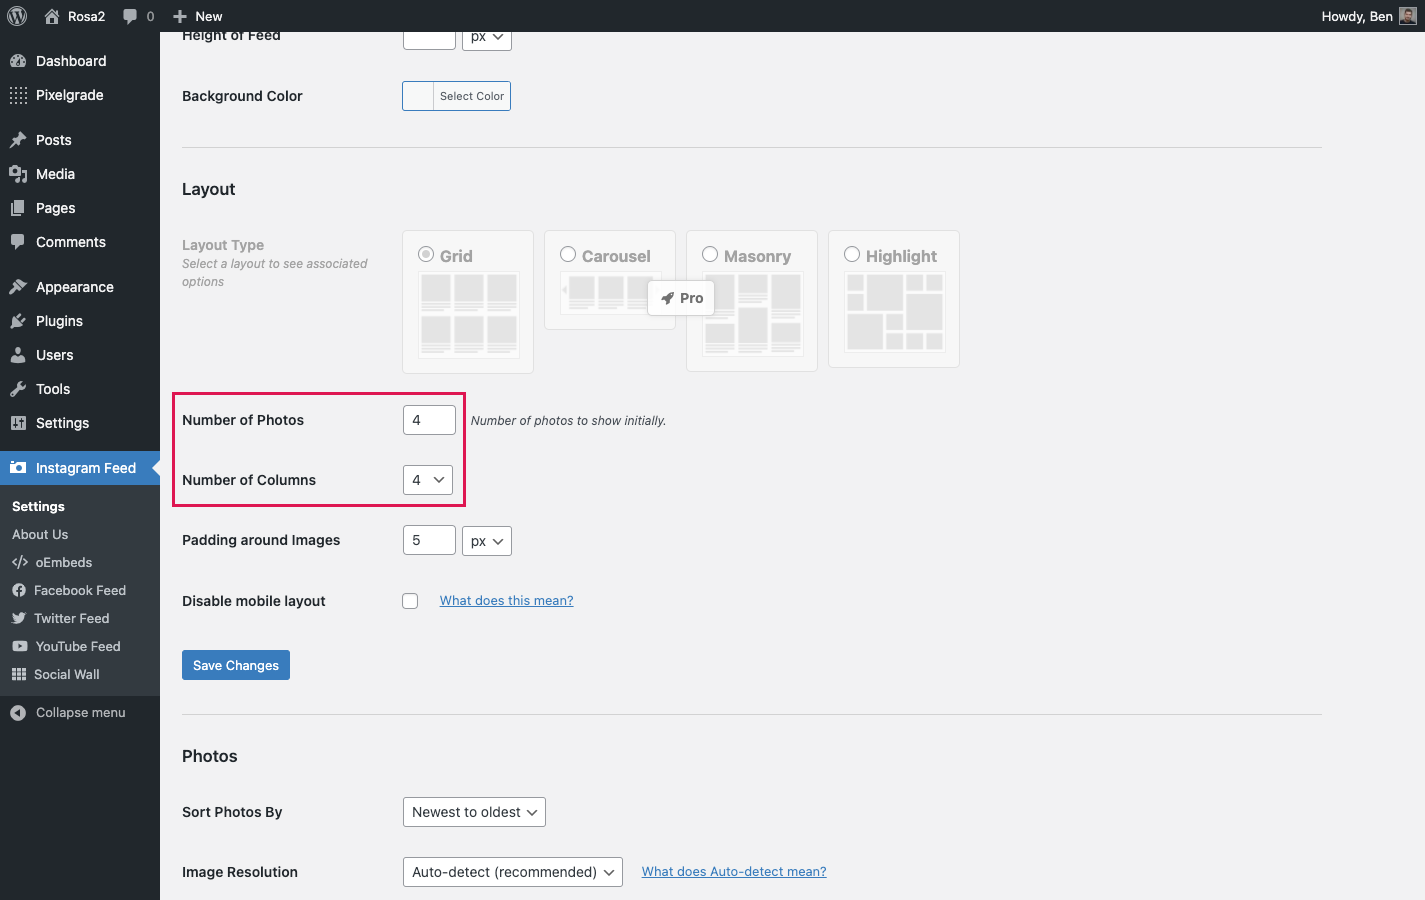
- Change the general settings and apply them in all the feed locations by going to Instagram Feed → Settings → Customize and matching the Number of photos to the Number of Columns. View the screenshot for details.
- Apply the changes just to one location by adding the following code
num=4 cols=4(replace the 4 value with the number of photos you want to display) inside the default shortcode (e.g.,[instagram-feed num=4 cols=4]).