Creating the Contact Page
The Contact page is one of the most important pages on your website. In the end, you invest time, energy, and money to build a digital reputation because you want to engage with people and promote your work. That’s why creating such a page is an important task that you should consider. In this article, we walk you through the steps you need to follow to create a consistent Contact page.
Step 1 — Install a contact form plugin
On the contact page from the demo, we’re using the Contact Form 7 plugin—it’s one of the best form builders we’ve tested so far. You can install this plugin by going into Plugins → Add New → search for “Contact Form 7.” Once you find it, click on Install and then on Activate.
Step 2 — Create a Contact Form
You can create a simple form by following the plugin’s starting guide. Alternatively, set it up just like on our demo by copy-pasting the code below:
<p>[text* your-name placeholder "Your name"]</p>
<p>[email* your-email placeholder "Email"]</p>
<p>[text your-phone placeholder "Phone"]</p>
<p>[textarea* textarea-241 x3 placeholder "Message"]</p>
[submit "Send"]
To add the code above, go to your WordPress dashboard and click on Contact → open the default contact form created by the plugin (usually named “Contact form 1”) → paste the code in the Form area → hit Save, and you’re done here. This is the place from where you can also change the form title.
Step 3 — Add the form to the Contact page
- From your site WordPress dashboard, add a new page, name it “Contact” or similar, and assign its page template if there are any (e.g., Contact Page, Map Header, Google Map Hero);
- Go to Contact → Contact forms and copy and paste the shortcode found next to the previously created form (see print screen);
- Paste the shortcode on your new page. Alternatively, if you want to start with the setup from our official demo, copy and paste the code below:
[row cols_nr="2"]
[col size="4"] Insert content here. [/col]
[col size="8"] <h3>Want to work with me?</h3>
[contact-form-7 id="4" title="The contact form"]
[/col]
[/row]
Note: Replace id=“4” with your own contact form ID. You can find the ID in the shortcode area from Contact → Contact forms (see print screen).
Step 4 – Replicate the demo layout
If you want your contact page to look just like in our demo, there are a few things you need to do.
First off, make sure to use the P button to add columns and customize the page content.
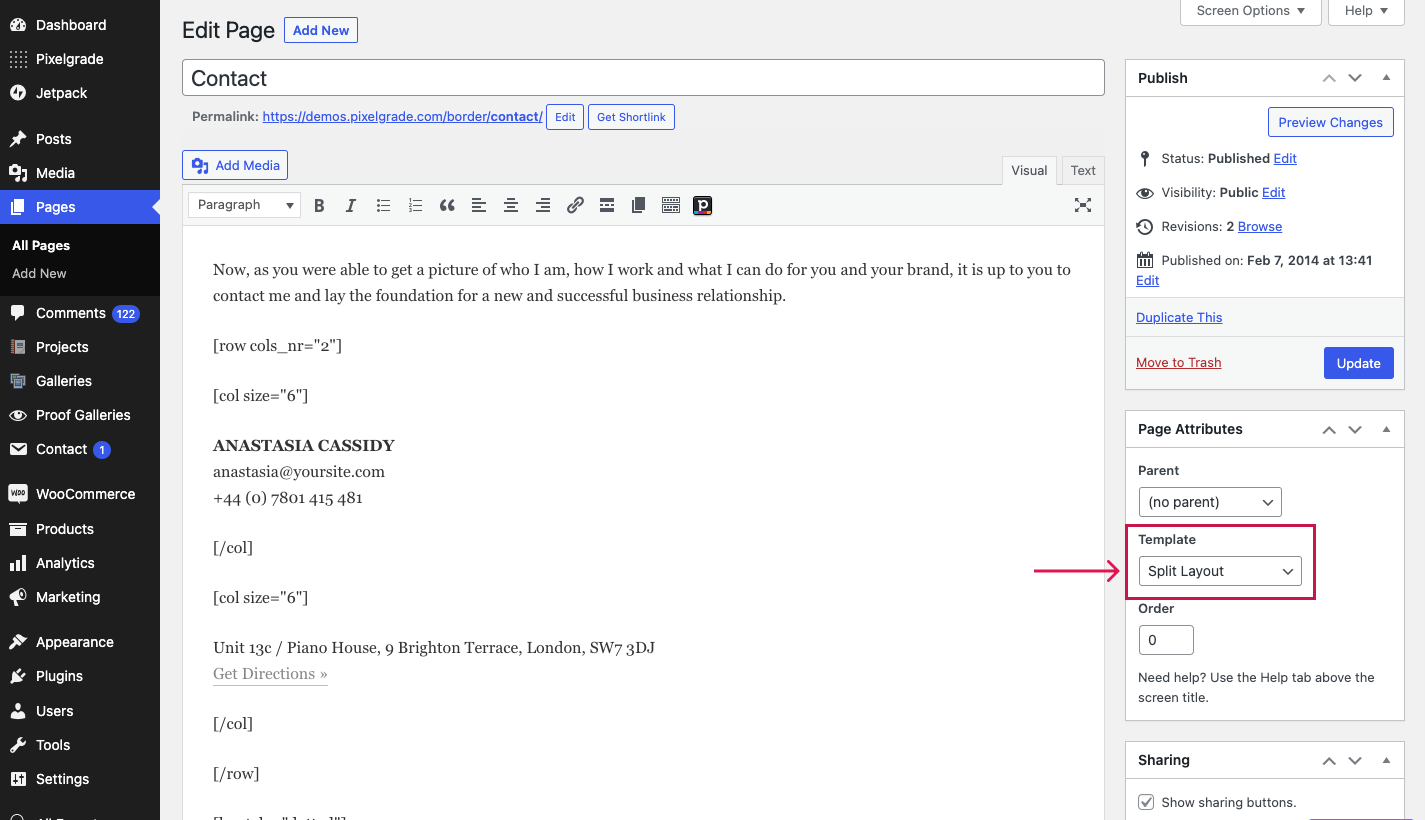
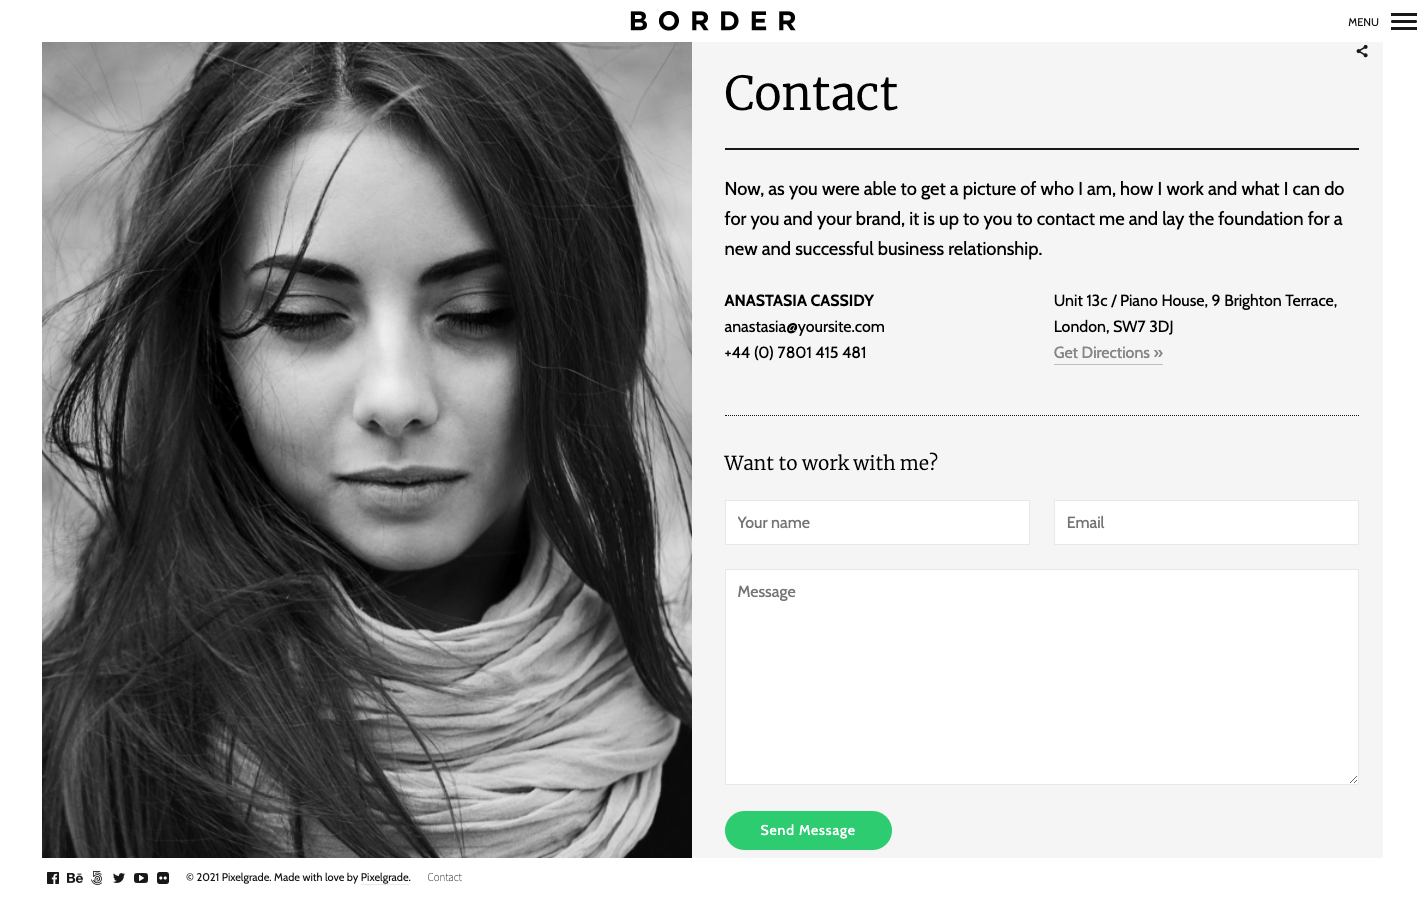
The second step is to change the page template to Split Layout to have your featured image show up on the left side of the content (like in this example).