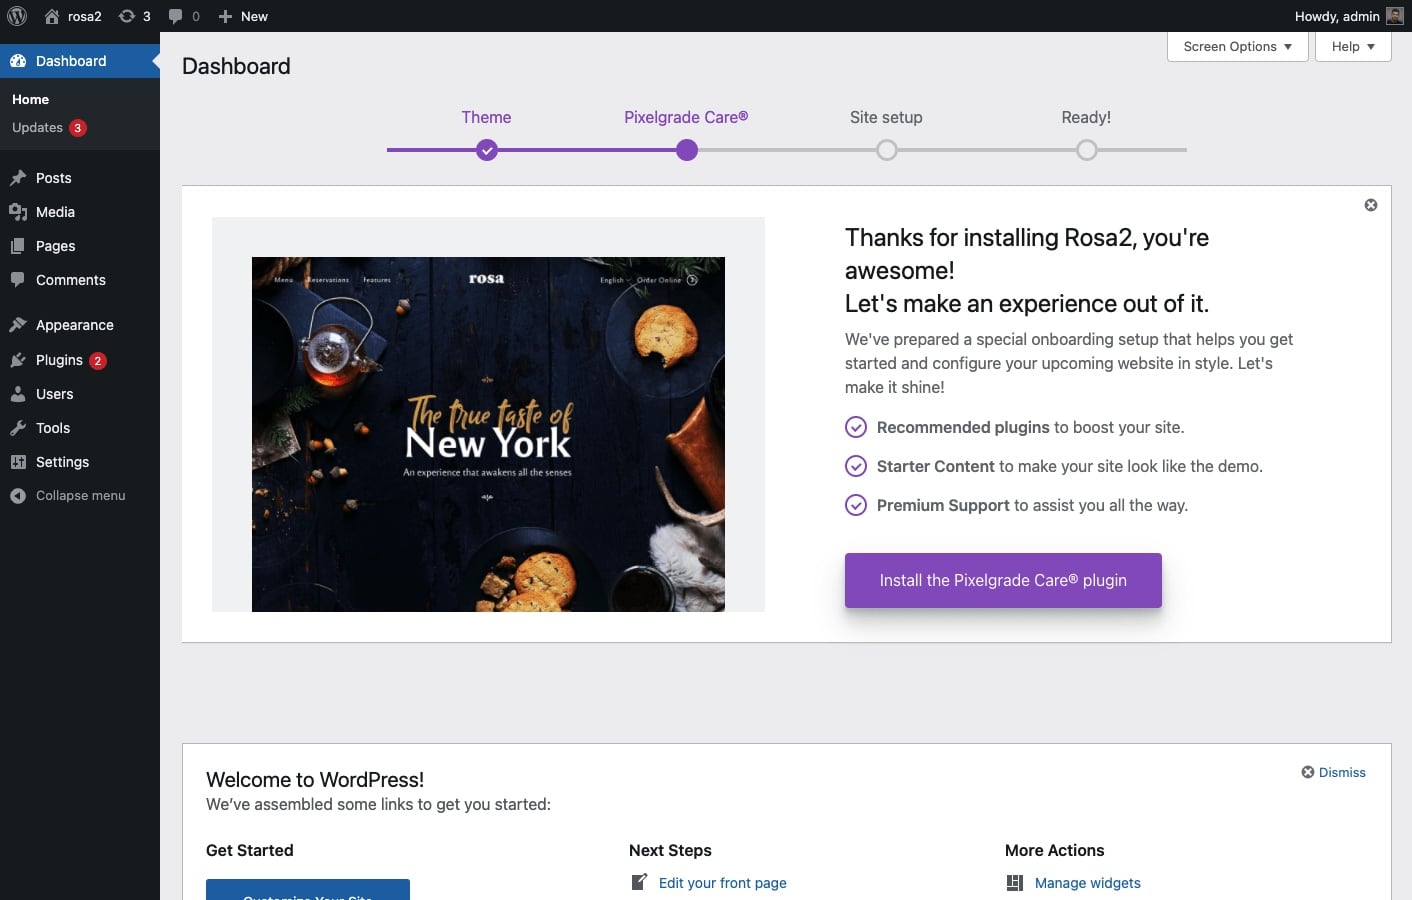
Activating the Theme
A proper setup is crucial for a right-foot start into the WordPress world. This article will walk you through the process of accurately activating your theme. Please keep in mind that this stage comes after the installation, not the other way around.
- Go to Dashboard and click on Appearance → Themes.
- Go to theme you just installed (at mouse-over you will see the Activate button – click on it).
- Now you can start working on your upcoming website.
Click on the Customize button and start playing around. You’re now ready to add content of any kind and customize the theme to your preferences.
FAQs
Do I need to start with specific plugins?
Yes. We highly encourage you to activate the recommended plugins. If you already have the Pixelgrade Care plugin installed (check that by going to the Plugins tab) follow the steps below:
- From your WordPress Dashboard, go to the Pixelgrade tab;
- Scroll to the Manage Plugins section and click on the Install button next to each plugin.
If you don’t have the Pixelgrade Care plugin installed, follow the steps below:
- Log in into website and click on Dashboad.
- Once you’re there, you’ll see a big notice telling you to install the Pixelgrade Care plugin.
- Click on Install the Pixelgrade Care plugin and follow the on-boarding setup.

How can I add the demo data?
We wrote a specific article about how to easily import demo data.
Need help configuring the theme?
Choose the Clean Theme Install service and we’ll set everything up for you in no time.