Adding the Cart to the navigation menu
If you have an online shop, you know that providing quick access to the Cart is an important feature in helping your customers complete their purchase journey.
One of the best places to display it is right in the navigation menu. This way, people can access it no matter where they are on the website at any given time and can return to it quickly to make changes before committing to the purchase.
Add the Cart to the navigation menu
First, make sure you have the WooCommerce plugin installed and activated. This is, of course, the essence of your online store and a must-have if you want to sell online using WordPress.
Once that’s done, follow the steps below to place the Cart item on the navigation menu:
- From your WordPress Dashboard, navigate to Appearance → Customize → Menus
- Choose a menu where you want to put your Cart and click on the Add items button
- In the window that loads, click on the Extras option and choose the Cart option
- When you’re done, click the Publish button
Here’s a helpful video:
Customize the Cart menu item style
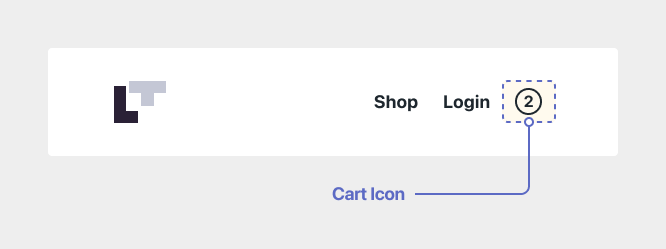
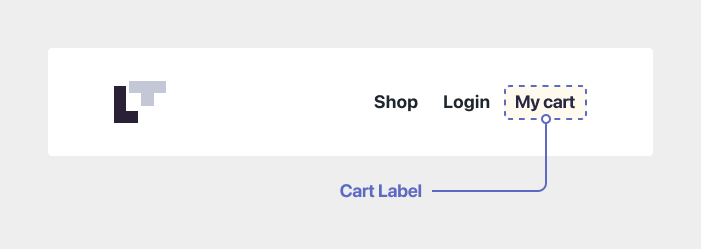
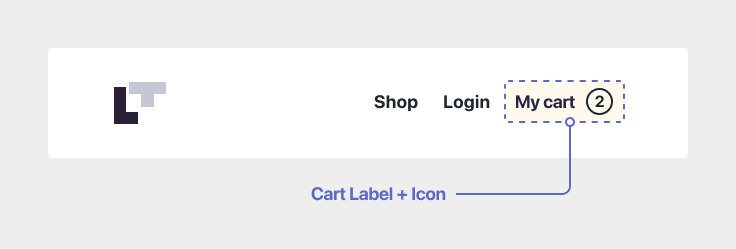
With Rosa LT on board, you have the option of displaying the Cart icon using one of the three available visual styles:
- Icon: this is the Cart’s default style and showcases the number of items (products) in the shopping basket.

- Label: displays the Cart as a simple piece of text. The great thing is that you can use any text you want, which is useful if you want to play around with the naming or translate it.

- Label + Icon: as the name implies, you can show a custom text next to the Cart icon—useful if you want to be as clear as possible as to what the menu item represents.

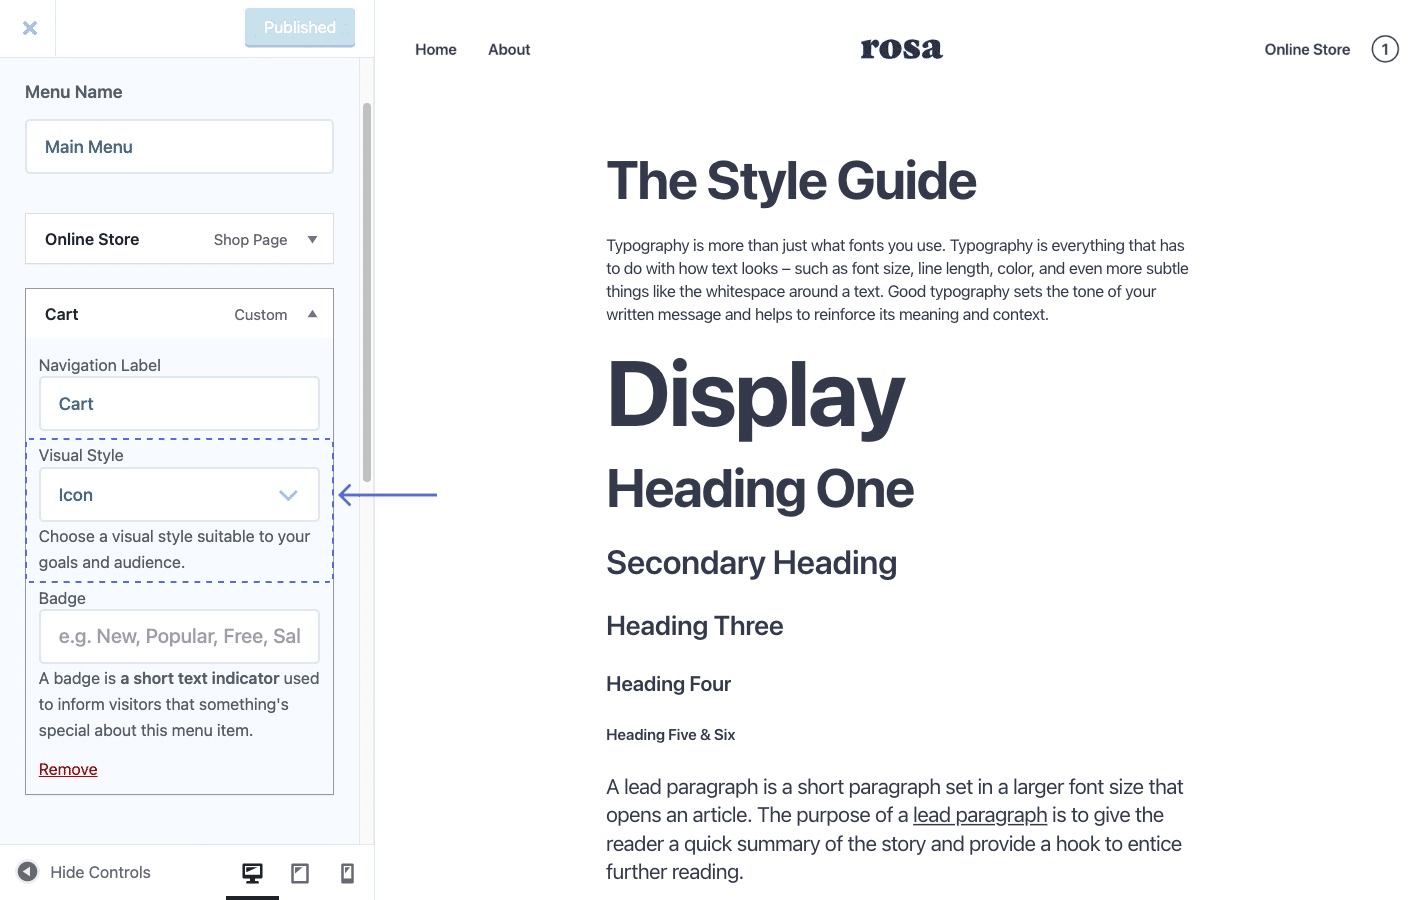
To apply any of the available visual styles, click on the Cart menu item and pick the option that works best from the Visual Styles section.
