Adding dark mode on your website
The dark mode is a color scheme that uses light-colored text, images, or other graphic elements on a dark background. When computers first appeared, this was the default state, but when graphical interfaces started showing up alongside the word processors that simulated writing on paper, dark text on light background became the norm. You might also find dark mode described as black mode, dark theme, or night mode.
Since the time spent in front of screens is ever-increasing, people have started to look for alternatives that are easier on the eyes and less power-hungry (to get more done out of a single charge of their devices). Besides these benefits, the dark mode can also provide a better viewing experience in low-light environments, like during the night or on a cloudy day.
Examples of dark mode implementations are plenty, and you've probably already encountered some on your devices. The use of a dark mode does not stop at the operating system level. The most popular browsers like Google Chrome, Safari, and Firefox all change their default color scheme to match the ones of your operating system, both on mobile and desktop. Besides, other native apps take note of your system preferences and change their colors to match. Some examples are Slack, Evernote, and Apple Music, with many others doing the same.
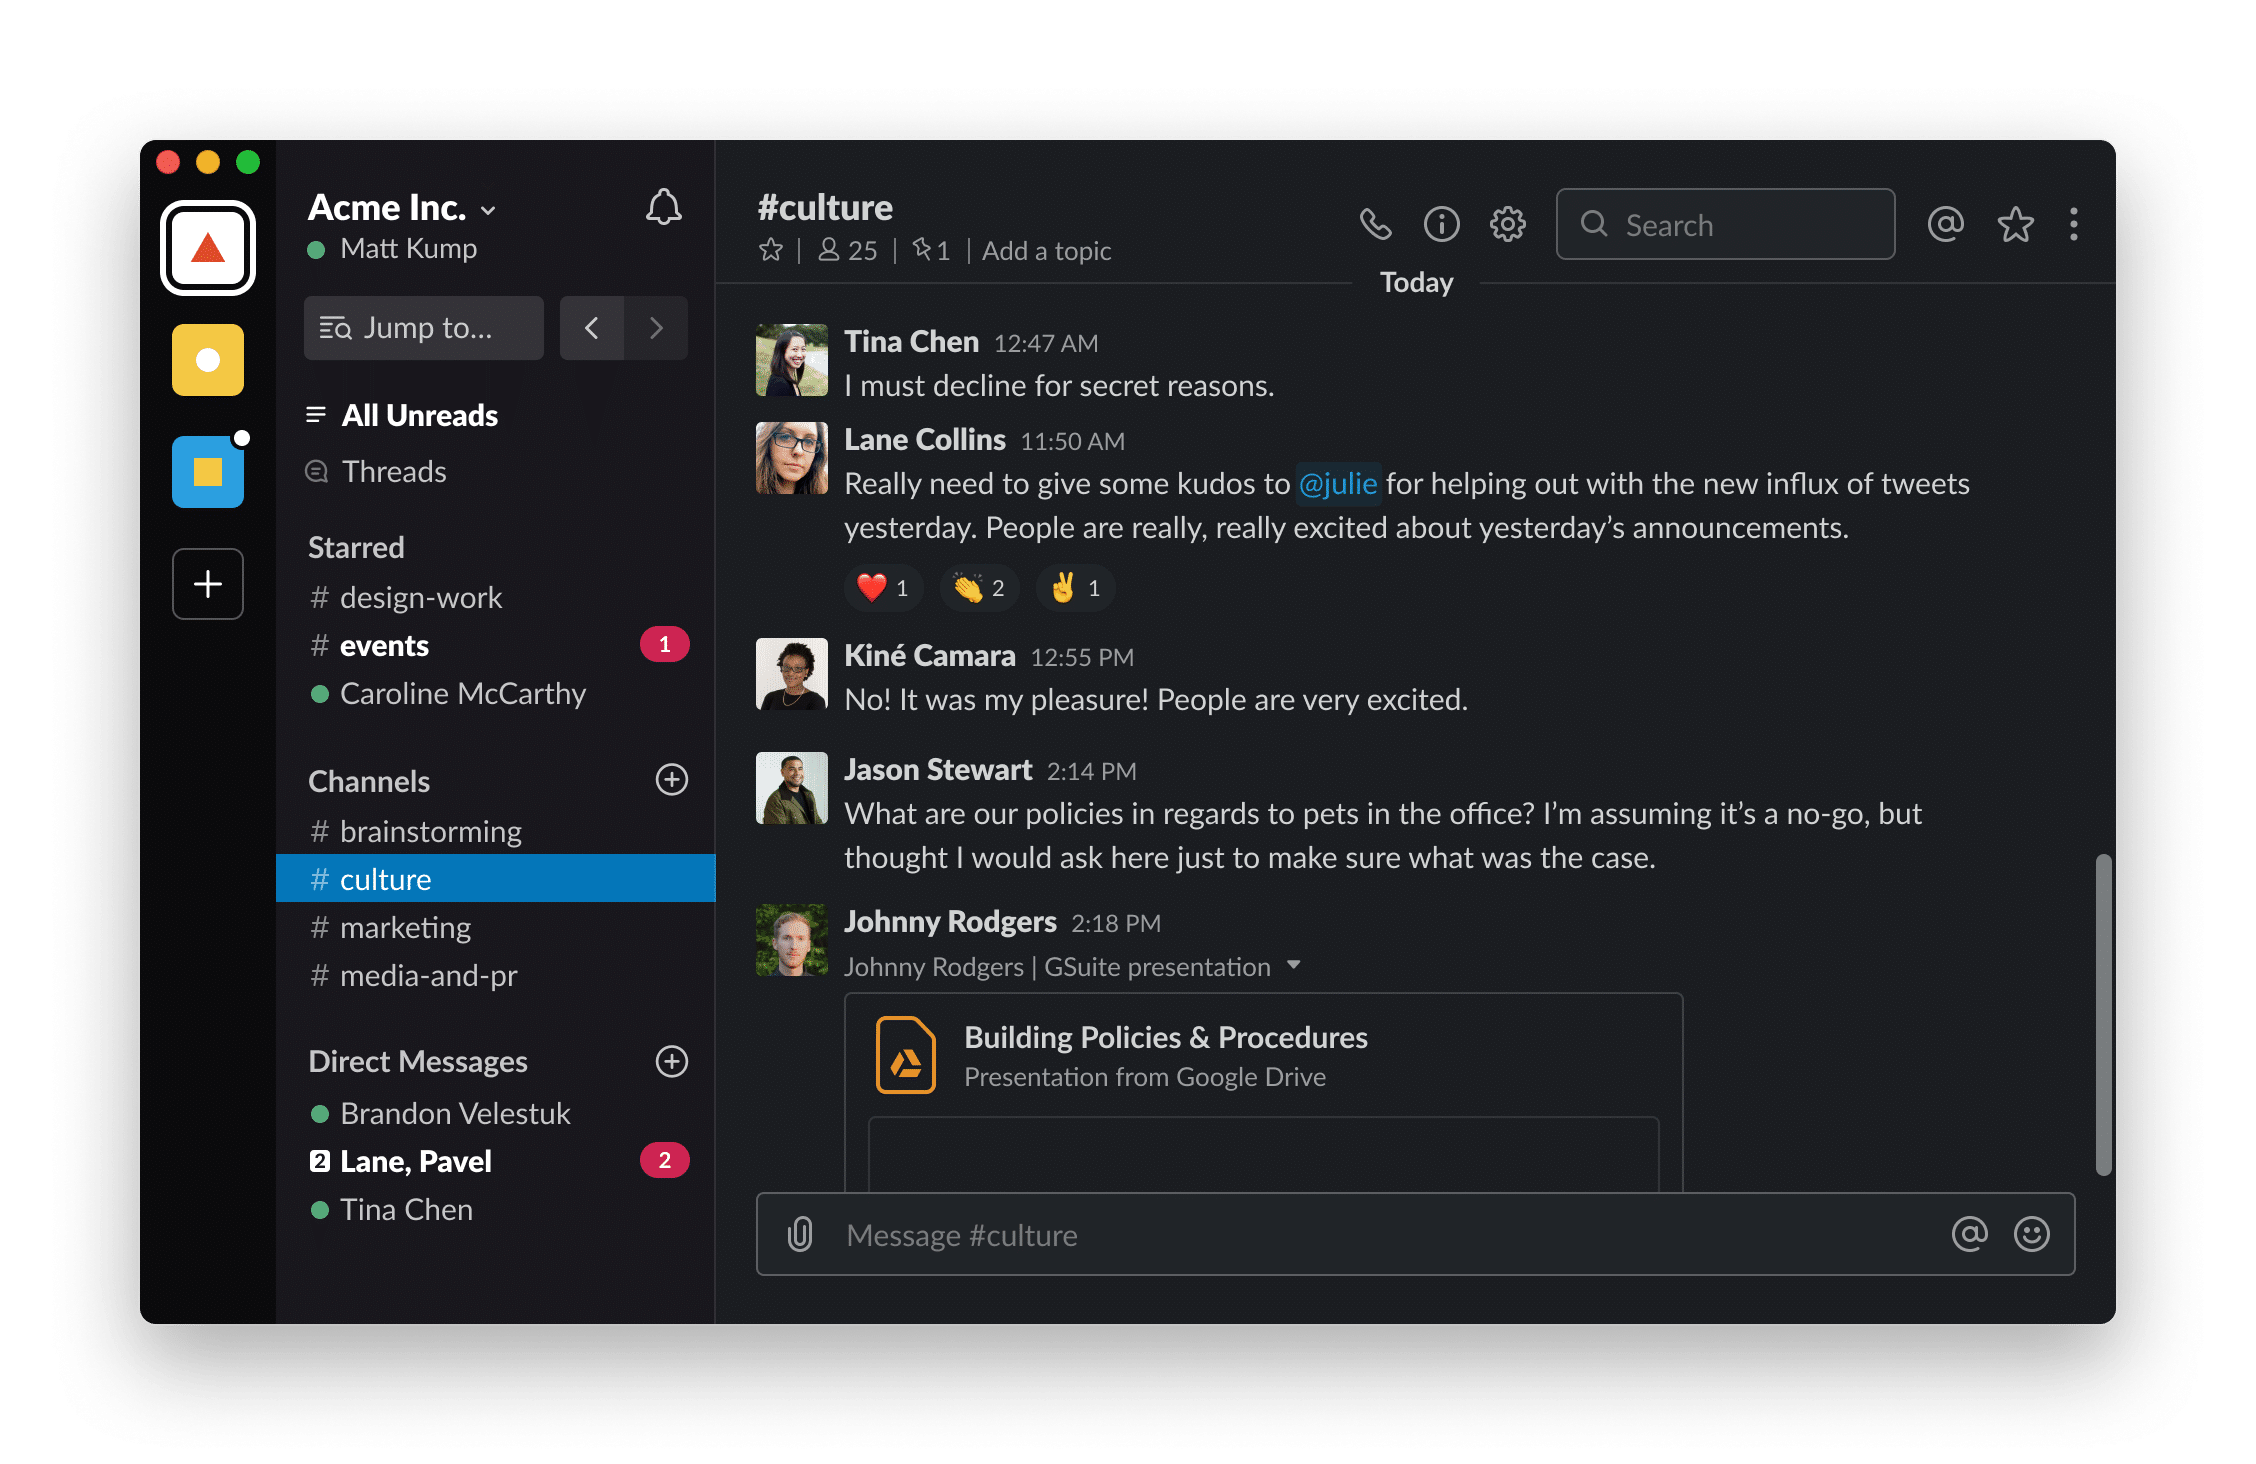
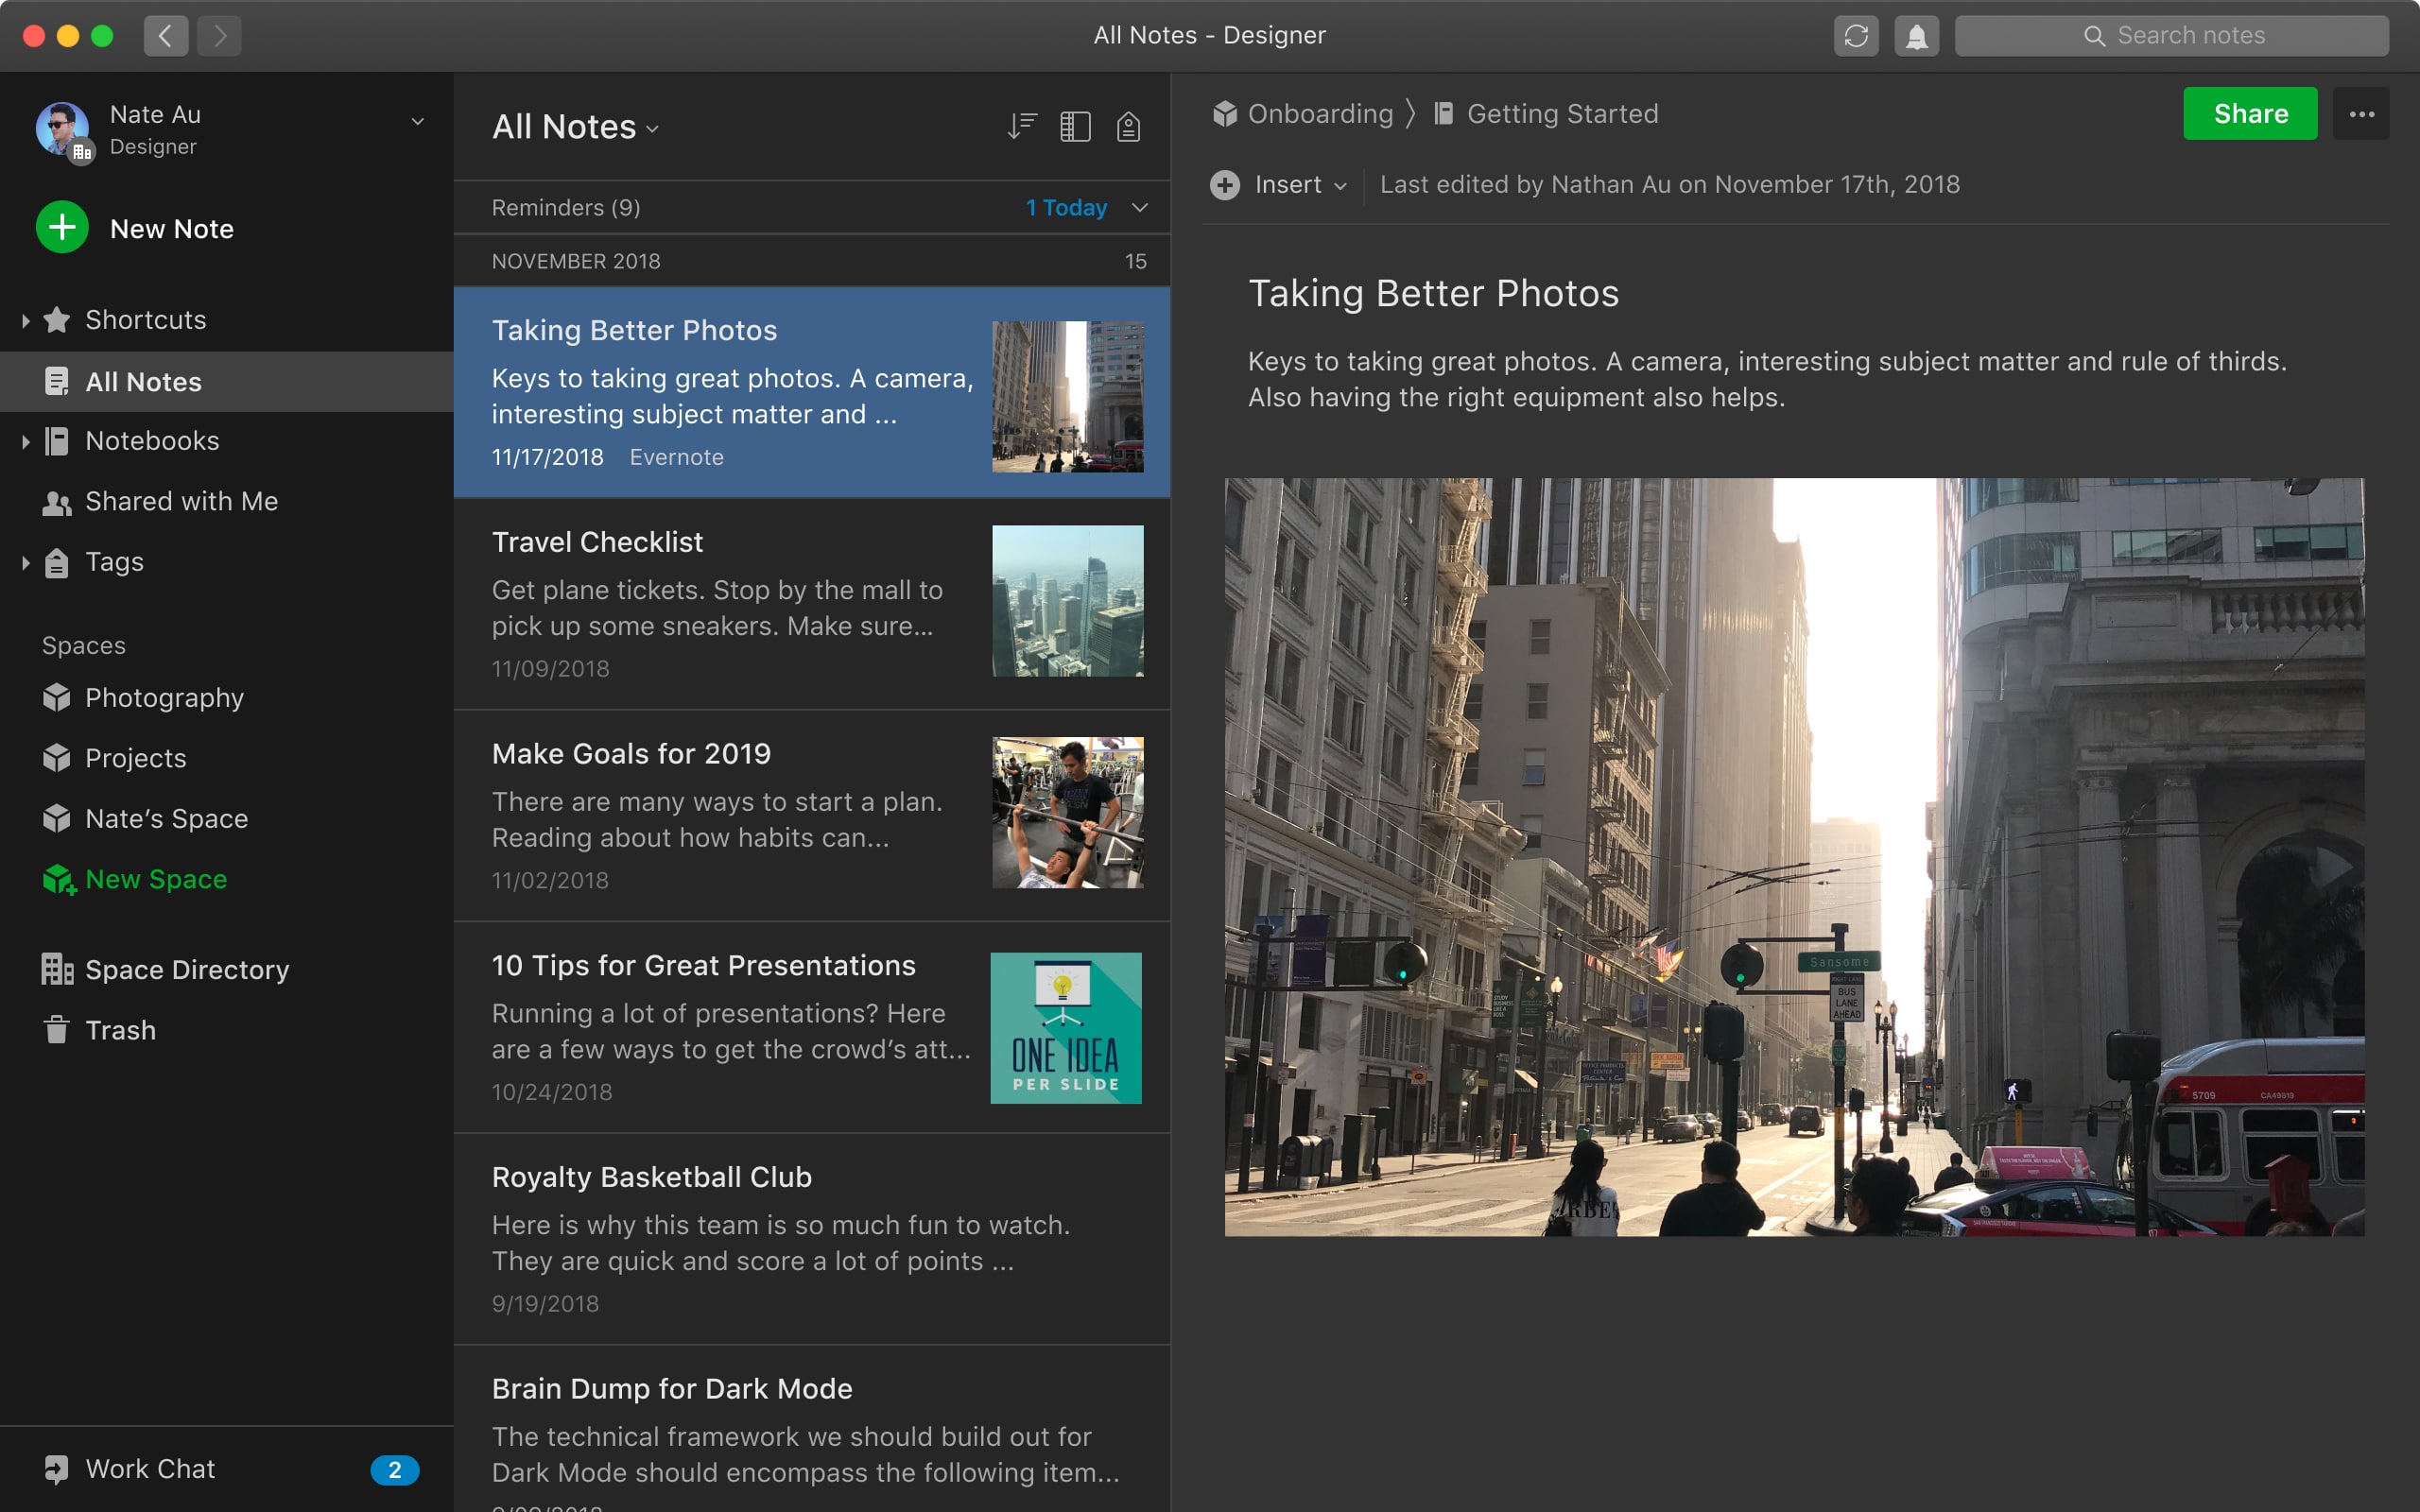
This makes websites one of the places where users expect to see a continuation of the color scheme they use for their operating system and software tools.
Your Pixelgrade LT site (built on the Anima block theme) supports two things you can set up:
- A default color scheme for your whole site — light, dark, or automatic.
- A switch in your navigation so visitors can flip between light and dark themselves.
Read on to set up both.
Part 1 — Choose your website's default color scheme
Your default scheme is controlled in Style Manager, which lives inside the WordPress Site Editor.
- In your WordPress dashboard, go to Pixelgrade.
- Open the Design System tab. On the Colors card, click Edit the Color System (you can also use Open Style Manager). This opens the Site Editor with the Style Manager panel on the side, focused on your colors.
- In Style Manager, open the Color System section, then the Usage sub-tab. This is where the palette's roles are tuned — it holds Coloration Level (Low / Medium / High) and Color Targets (per-element toggles) — and it's where your site's overall light / dark / automatic default is set.
- Set the Appearance control to one of its three options:
- Auto — your website will automatically change to the light or dark mode, according to the visitor's system-wide setting. When a user is using dark mode on their device (computer, tablet, or phone), your website will adjust the colors to match the dark theme.
- Light — your website will use a light color scheme on all devices without considering your visitor's system preferences. This means your website will load a light theme, even if people visiting use dark mode.
- Dark — your website will show on dark mode no matter what the user uses on their device.
- Save your changes.
Good to know — saving the default scheme is part of Pixelgrade Plus. In Style Manager, the Color System controls preview live, so you can try light, dark, and auto instantly. Without Pixelgrade Plus, those changes are a live trial only and are not kept when you save — making your chosen default color scheme stick across visits is part of Pixelgrade Plus. You can manage your plan from Pixelgrade → Account. (The visitor-facing switch in Part 2 below doesn't depend on Plus — it's added through the Nova Blocks plugin.)
—
Part 2 — Let your visitors switch between light and dark
You can also add a Dark Mode switch to your site's navigation. This lets visitors flip between light and dark themselves and overrides both their system setting and your site's default.
Your menu is the Navigation block in your header, edited in the Site Editor. The switch is added as a small Dark Mode Item inside that Navigation block. (The Dark Mode Item is provided by Nova Blocks, one of the recommended Pixelgrade plugins — make sure it's installed and active.)
- In your WordPress dashboard, go to Appearance → Editor to open the Site Editor.
- In the Site Editor's left panel, click Navigation, then open your menu to edit it. (Your menu is the Navigation block that lives in your header.)
- Click your Navigation block to select it.
- Use the + (block inserter / add item) inside the navigation, search for Dark Mode Item, and add it.
- With the Dark Mode Item selected, open its settings in the right-hand sidebar to choose how it looks. Under Visual style you have three options:
- Label — shows the switch as plain text.
- Icon — shows the switch as a simple icon.
- Label with icon — shows both text and an icon.
You can also set the Label text (for example, "Dark Mode") and an optional Badge text.
- Click Save in the Site Editor.
The best thing about this feature is that it maintains the user's preferred theme on page reloads. This means that if a user decided to use the dark mode color scheme, they will be presented with the dark theme automatically every time they visit your website.
—
Related
- Setting your colors and fonts: Pixelgrade → Design System → Open Style Manager.
- Editing your header and navigation: Appearance → Editor (Site Editor).
- Plans and licensing: Pixelgrade → Account.