Adding an Advanced Filtering System
If you’re looking for an advanced filtering and search system for your listings, look no further as we have the solution.
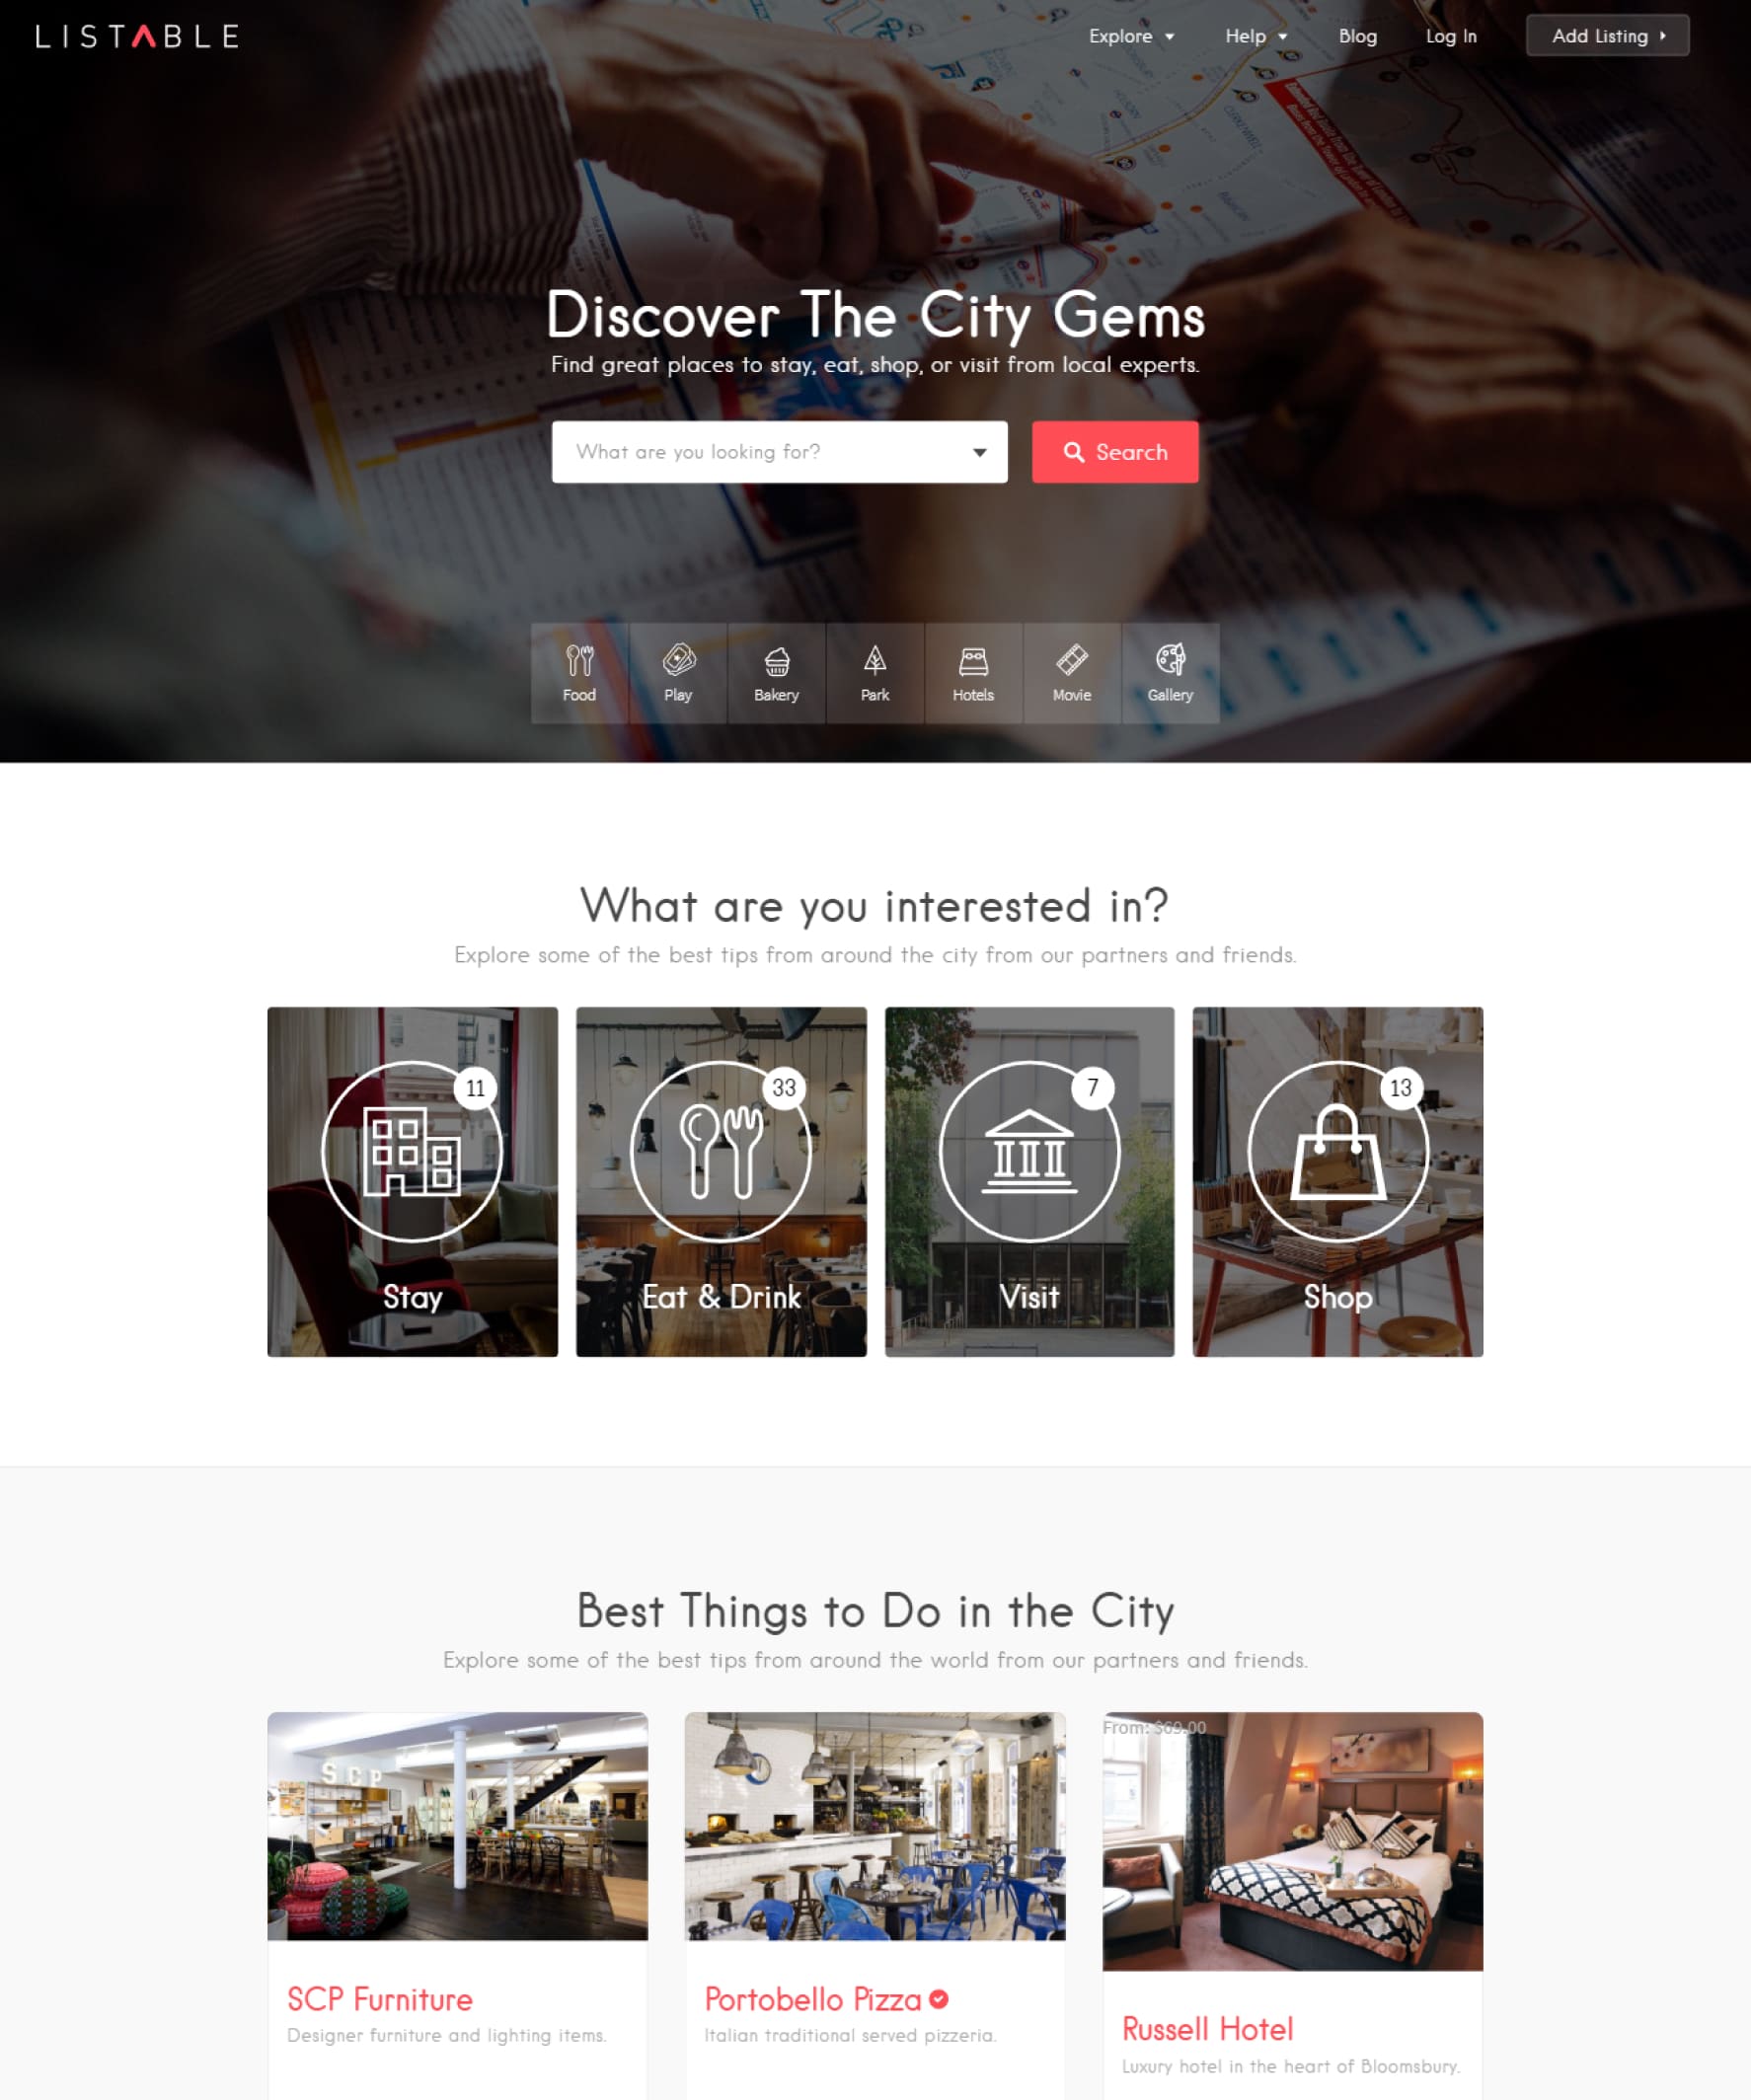
When we created Listable, our directory WordPress theme, we partnered with Matt Gibbs, author of the FacetWP plugin, to offer seamless integration.
To add an Advanced Filtering System, you need the FacetWP plugin (sold separately). Note that this plugin will replace all the default fields, which you can easily recreate as facets.

If you want to see it live, check out our Listable FacetWP Demo.
Now let’s dive into how you can use this plugin to add the filtering options you seek.
Step 1 — Install the FacetWP Plugin
You must first purchase, install, and activate the FacetWP plugin. If you need help installing and activating FacetWP, you can read this detailed documentation article.
Step 2 — Create the Facet Filters
Facets are UI elements (checkboxes, dropdowns, etc.) used to filter, or “drill down”, content listings. Facets are aware of the content, and only relevant choices are displayed.
Navigate to Settings → FacetWP, click on the Facets tab, then click the Add New button. FacetWP includes a sample facet (Categories) to help get you started.
Please make sure that you set the permalinks to anything else but not to Plain. Permalinks settings can be found by logging in to the WordPress Dashboard and navigation to Settings → Permalinks; once you’re there, choose between one of these highlighted options.
For more details, check out the Facet Configuration article from the official documentation.
Step 3 — Show the Filters
To make the setup easier, we’ve created a Drag & Drop interface within the Listings → Settings FacetWP tab.

After creating the facets, they will appear on the sidebar below the Available Facets list. You can drag them on one of the following areas:
- Listings Archive: this area is where most of your facets should go (except the ones already shown in the Navigation Bar)
- Navigation Bar: site-wide available facets. Choose wisely a maximum of two of the most essential filters—the rest of them go to the Listings Archive section. Note that only a limited type of facets are suitable for this area (e.g., Search, Proximity, Dropdown), and you may need extra styling for other types.
- Front Page Hero: considering that Navigation Bar facets will not be shown on the Front Page, feel free to use a similar set of fields.
Integrating FacetWP with LISTABLE
In order to better understand how the FacetWP plugin works with the Listable theme, we recommend the following video, made by Matt (the author of the FacetWP plugin).
That’s it! Now you should be able to filter and search the listings using an advanced system. See a live example on a separate demo.
FAQ
1. How do I create a Location Filter?
Create a Proximity type facet and set the Data Source to geolocation_lat.
2. How do I import the FacetWP settings from your demo site?
If you want to replicate the same settings we have created for the Listable FacetWP Demo, simply copy-paste this code in the Settings → FacetWP → Settings→ Backup→ Import field.
Additional Reading:
Looking for a directory WordPress theme?
Grab Listable, one of the top 5 best-selling directory themes in the world 👇